CaveCalc is an intermediate program, which pre-digests your settings in Cave.ini and writes them into Cave.ini and OpenGLDrv.ini. I don't want
to make it too fancy, because it will eventually be replaced by (new) code within UT itself when I, or someone, adds in real-time head tracking.
I could move the code for CaveCalc into UT, now, and maybe I should. It's just that I don't like making any more changes than I have to the
Core UT code, especially when they are throwaway changes. Besides, keeping the CaveCalc code separate allows people to experiment with it safely.
The equations in there are bound to need some refinement.
To function properly, CaveCalc needs to be in the same directory as Cave.ini (input) and User.ini (input and output) and OpenGLDrv.ini
(output). That's why you should normally run it in your /UnrealTournament/system/ directory, but you can test it out in separate directory. It
reads from Cave.ini, it modifies User.ini, and it completely overwrites OpenGLDrv.ini. You can run it by double-clicking its icon, run it from
the "run" command above the "start" menu or from DOS prompt. It will pop up a DOS window with some debugging output, just to let you know it's
working properly. At this point, the User.ini file and the OpenGLDrv.ini files should have been changed, appropriately.
Below, are the contents of a sample Cave.ini file:
-
[BNAVE]
WhichScreen=[BnaveDefaultScreen]
[BnaveRightScreen]
RollInDegrees=-90.0
PitchInDegrees=-2.6
YawInDegrees=80.5
bb
CaveOffsetX=0.0
CaveOffsetY=0.0
CaveOffsetZ=0.0
YsideLength=94.0
XsideLength=70.5
YsideDisplacement=18.0
XsideDisplacement=11.5
DistanceToScreenPlane=43.7
[BnaveDefaultScreen]
RollInDegrees=0.0
PitchInDegrees=0.0
YawInDegrees=0.0
CaveOffsetX=0.0
CaveOffsetY=0.0
CaveOffsetZ=0.0
YsideLength=1.0
XsideLength=1.0
YsideDisplacement=0.0
XsideDisplacement=0.0
DistanceToScreenPlane=1.0
The first line "[BNAVE]" is just a title, you can write anything into. Useful for saving multiple configurations. Remember that CaveUT, at
this time, only supports one optimal viewing location for the user's eye, at any one time. So it might be useful, for example, to have several
different Cave.ini files on hand, for different eye heights. Say, one for you, one for your kid, one for you when you are sitting, you standing,
and so on.
The next line, "WhichScreen=[BnaveDefaultScreen]", identifies which set of parameters below will use for CaveCalc's calculations. So, with
"WhichScreen" set to "BnaveDefaultScreen", CaveCalc will read only the parameters under the "[BnaveDefaultScreen]" title. Each set of parameters
has one title (which can be anything) followed by eight parameters, starting with "RollInDegrees" and ending with "DistanceToScreenPlane", all of
which I will now explain:
- RollInDegrees=real
-
Rotate the view (of the virtual world) on the display by the specified degrees. Positive numbers rotate the scene clockwise, negative
numbers rotate it counter-clockwise. 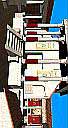
 For example,
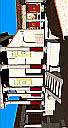
RollInDegrees=90.0
will turn the scene sideways, as shown in the image on the right. Or,
you can rotate the image counter-clockwise with: RollInDegrees=-90.0
which will also turn the scene sideways, but
in the way shown on the left.
- PitchInDegrees=real
-
Works the same way "RollInDegrees" does, except that it rotates the scene up (looking at the sky) or down (looking at your feet). Positive
values will rotate the scene upwards, while negative values rotate it downward.
- YawInDegrees=real
-
Works the same way as "RollInDegrees" and "PitchInDegrees", except that it rotates the viewer's scene left or right. Positive numbers
cause the scene to rotate to the right, negative numbers cause it rotate to the left.
- X_Offset=integer
-
Offset the rendered view from the location of the single player. The offset is along the X dimension according to player figure's internal
coordinate system. So, the CaveUT "eye" would be locked to a certain distance and orientation from the player's viewpoint. The best way to
learn what affect this has is to experiment with it.
- Y_Offset=integer
-
- Z_Offset=integer
-
- YsideLength=real
-
- XsideLength=real
-
- YsideDisplacement=real
-
- XsideDisplacement=real
- DistanceToScreenPlane=real
-
The length of the perpendicular from the viewer's eye to the new vanishing point on the view screen.
CaveCalc computes the aspect ratio of the display from the X & Y measures. If you want to maintain a certain aspect ratio, you can force it by
measuring the length of one side of the display and computing the other. The computed sides should be expressed in many digits to insure
accuracy.
So, edit the Cave.ini file to add a full entry for each one of your display's screens. Be sure to keep the "DefaultScreen" settings, because
you will need them to set your display back to normal. There is nothing wrong with having extra screen entries. TIP: When you are installing
CaveUT on several PCs, create a single Cave.ini file with all the measurements for all the screens. unzip CaveCalc as described above, then copy
your modified Cave.ini into each machine's system directories. Be sure to change the second line of Cave.ini on each PC, so the file points to
the correct settings for that PCs display. Run CaveCalc on each machine, except for your server machine. Now, you should be ready to start.
To recompile CaveCalc using MSVC 6.0 on a Windows PC, go into the Project-->Settings dialogue box and click on the "Debug"
tab. Set the "Executable for Debug Session" to ":\CaveCalc Source\Debug\CaveCalc.exe" And set the working directory to
where you want it. The working directory must have "Cave.ini" for input, and "User.ini" and "OpenGLDrv.ini" for output.
A final note: When you use CaveUT to produce an off-axis projection where the new vanishing point is offset in both the X and Y
directions, an apparent rotation in the view is introduced. You will see it along the side with the larger displacement. The explanation for
this is lengthy, but the fix is simple--just introduce a counter-rotation using the roll, pitch or yaw values in "Cave.ini". For the BNAVE, for
example, this extra rotation is about 0.5 degrees.
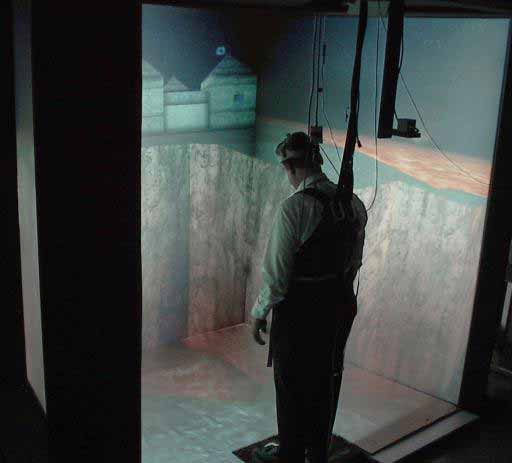 We developed CaveUT on the BNAVE a PC-based CAVE-like display the Medical Virtual Reality Center, Department
of Otolaryngology, University of Pittsburgh. To the left is a pic of a test subject standing in front of two screens of the BNAVE with
CTF-LavaGiant (a virtual world that comes prepackaged with UT) displayed in the background. The screens are at an 80.5-degree angle to each
other, and we are looking straight into the corner.
We developed CaveUT on the BNAVE a PC-based CAVE-like display the Medical Virtual Reality Center, Department
of Otolaryngology, University of Pittsburgh. To the left is a pic of a test subject standing in front of two screens of the BNAVE with
CTF-LavaGiant (a virtual world that comes prepackaged with UT) displayed in the background. The screens are at an 80.5-degree angle to each
other, and we are looking straight into the corner. 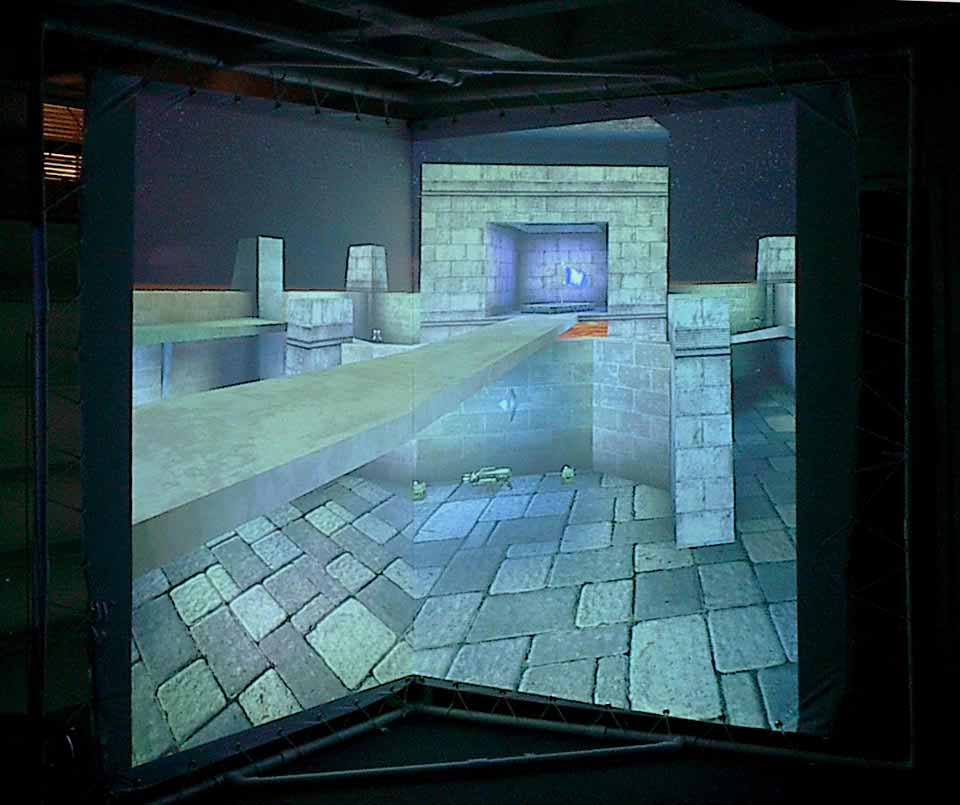
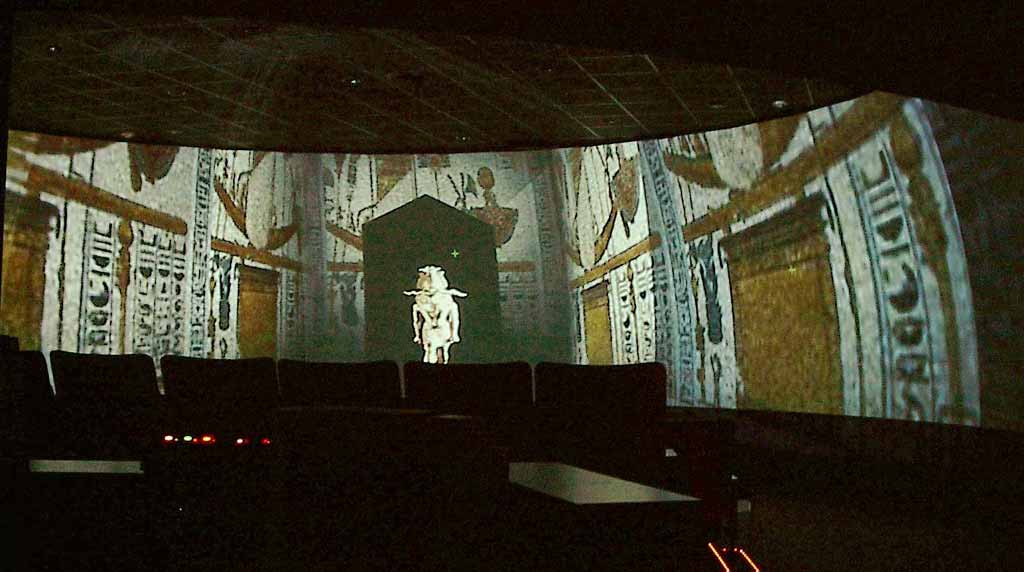
 However, the curved screens require a
spherical correction of the image, otherwise we get those wedge-shaped overlaps you can see in the image if you look closely. I am
currently soliciting help to add spherical correction to the OpenGL code. On the right is a Schematic of the Earth Theater. The screen is a
section of a sphere, 210 degrees horizontal by 30 deg vertical. In the figure, the screen is depicted in a transparent white in front of
the seats.
However, the curved screens require a
spherical correction of the image, otherwise we get those wedge-shaped overlaps you can see in the image if you look closely. I am
currently soliciting help to add spherical correction to the OpenGL code. On the right is a Schematic of the Earth Theater. The screen is a
section of a sphere, 210 degrees horizontal by 30 deg vertical. In the figure, the screen is depicted in a transparent white in front of
the seats.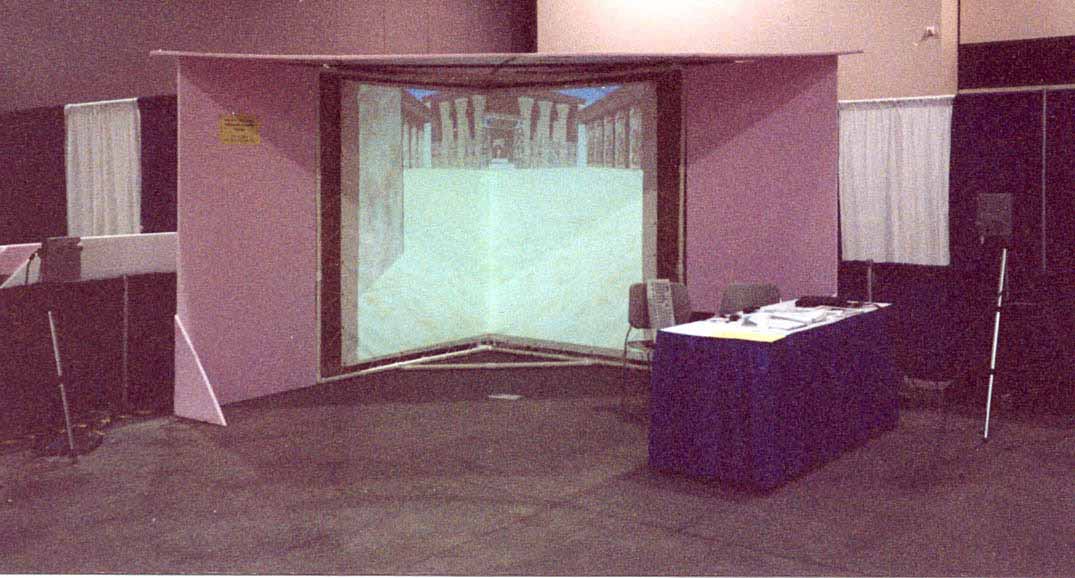


 To use CaveUT, you will need to come up with two sets of specifications for EACH view
screen. The term "view screen", as it is used here, refers to the portion of the physical display, which is actually showing pixels
generated by the PC's video card. Almost always, there is some extra physical screen or monitor material around the edges of computer-generated
display, which we are not concerned with here.
To use CaveUT, you will need to come up with two sets of specifications for EACH view
screen. The term "view screen", as it is used here, refers to the portion of the physical display, which is actually showing pixels
generated by the PC's video card. Almost always, there is some extra physical screen or monitor material around the edges of computer-generated
display, which we are not concerned with here.